TAMS Software Manual
Starting a Project
-
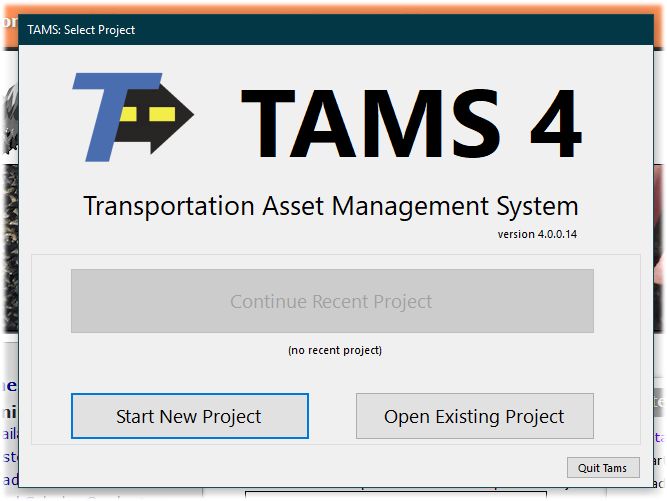
On starting TAMS for the first time, you'll need to create a project. Click "Start New Project".
(If someone else has given you a .TAMS project file, you can just clikc "Open Existing Project".)
NOTE: .TAMS files are just SQLITE files and can be opened with SQLite Browser
-
TAMS will prompt you for a spot to save your project file. For simplicity, it's best to create a new
folder specifically for your TAMS project (and any related files).
-
For simplicity, save a copy of your centerline SHP file into the same folder as the TAMS project.
-
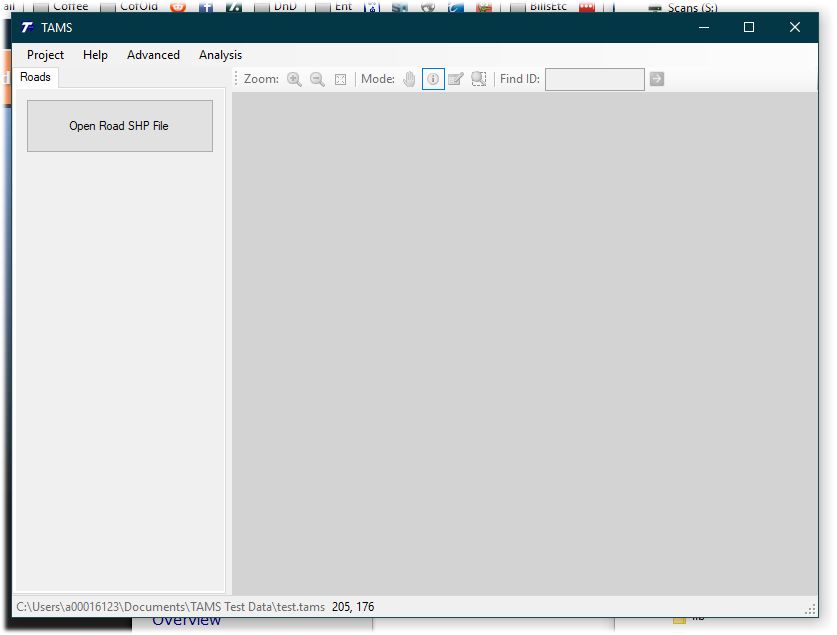
Once TAMS has created an empty project, you'll arrive at an empty TAMS project. For now, the only
module available is the Roads module.
-
The Roads module needs a SHP (shape) file with the centerlines of the road system. The SHP file should:
- Be in the Web Mercator projection. (TAMS will attempt to convert your SHP file on-the-fly, but will give an error
if unable to do so. In this case you will need to adjust your SHP file in dedicated GIS software such as
ESRI ArcMap or the open-source MapWindow.)
- Contain a data field with a unique ID that will not change for each line segment in the SHP file.
(A SHP file is an GIS map file standard developed by ESRI. Most municipalities will already have this file.)
-
To begin using the Roads module, you'll need to click "Open Road SHP File" and tell TAMS where to find
your centerline SHP file.
-
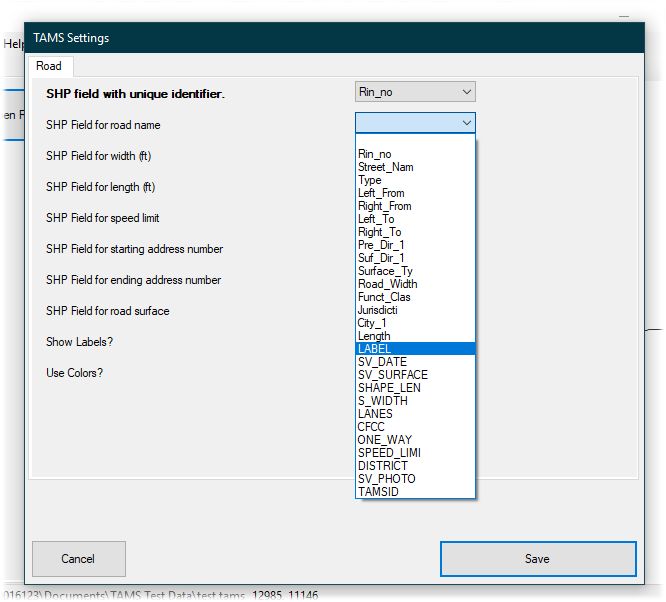
TAMS will check the fields in the SHP file and open the settings dialog for you to identify some of the data contained in the SHP file.
Settings in bold are required. Other information may be data that you've already collected that will make it easier to use TAMS.
-
Once you have all settings finalized, click "Save". You are now ready to begin using TAMS.

